

I saw some splatter effect nails on instagram and had to try it. After watching a few tutorials, I thought I got the hang of it, however it was definitely a learning curve! But we got there in the end.
What you'll need :
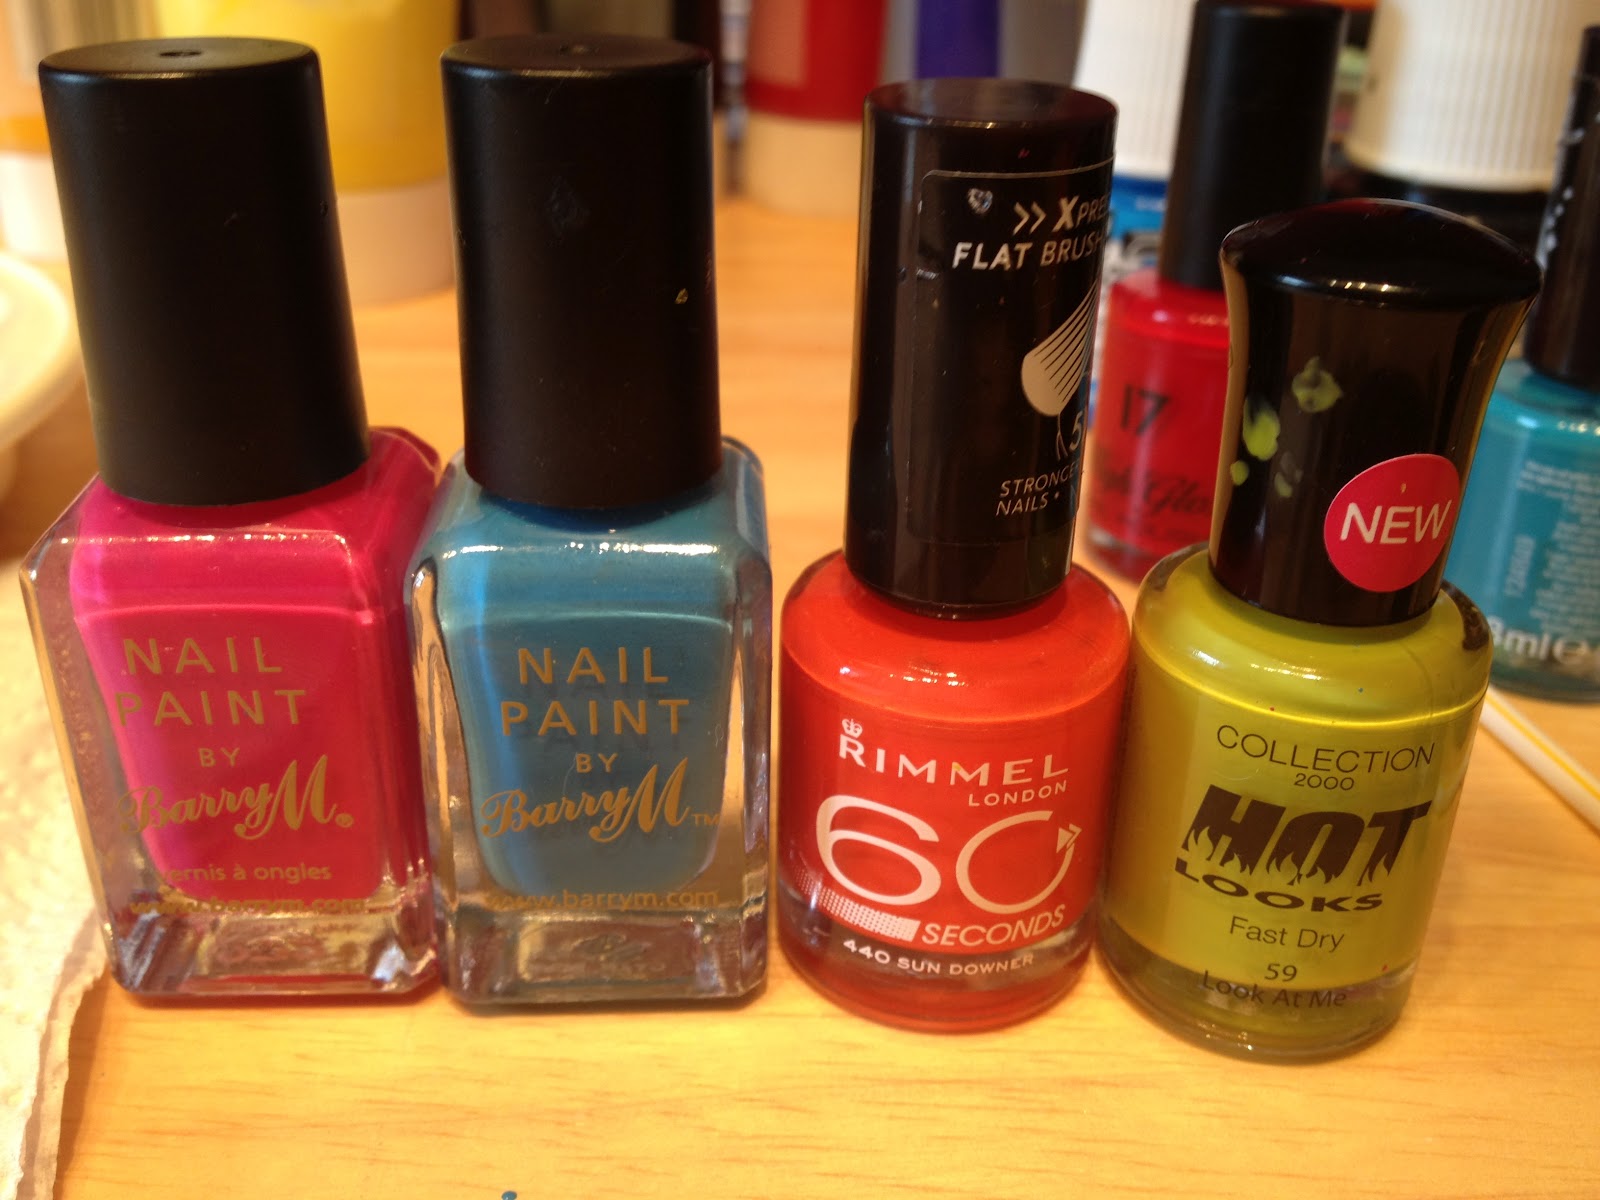
Nail Polish (obviously)
I used white as a background colour, with 4x bright shades on top (below)
Straws
cut into bits of about 3 inches long
(I tried it first using a normal sized straw and it just didn't work)
Napkin
This can get messy so do it on your bed or the floor, use a surface you don't mind getting dirty!
Put the base colour on your nails, you don't even have to let it dry before you start splatting, sometimes it works best wet.
Once you've got your base coat on, and your straws are cut, and the napkin laid down, take your first colour and dab a drop into the end of a straw.
Try and get a good sized dollop inside and hold it upright for a few seconds so the paint goes in a bit. This is to make sure when you start blowing some will actually come out!


Once you've done this, start blowing! Don't hold the straw too close to the nail, or this happens...

You want light spats like this (below) so hold it about 2 inches away from the nail.
A steady hand and good aim is best when doing this!

This is my first attempt on one hand.


My second attempt went better once I got the technique right!

As you can see it goes everywhere, but its all good fun!


Once its dried, take a cue tip, dip it in nail varnish remover, and rub off all the unwanted splats and marks and errors around the nails.

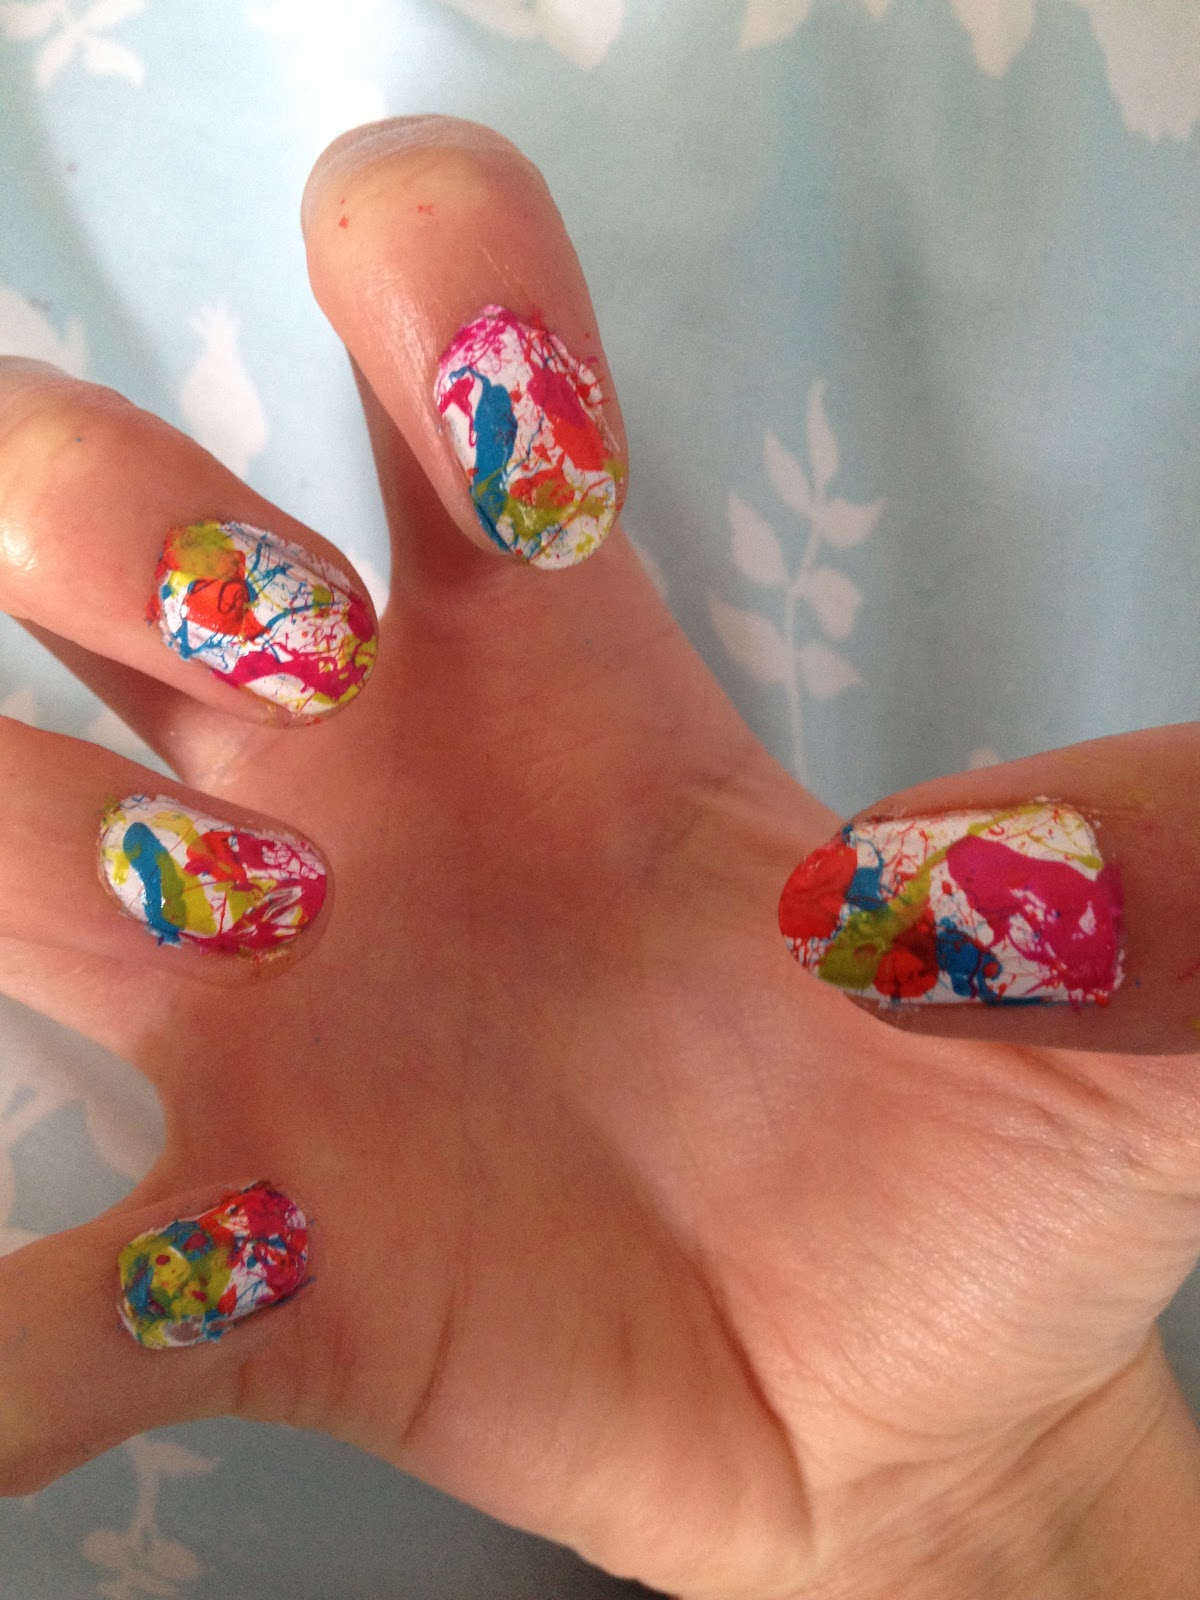
And there you have it, easy peasy splatter effect nails!
My next attempt is going to be gradient nails, so stay tuned!
Looks amazing!
ReplyDeleteLuv, Nyt
Metajojuana under a Starry Nyt