Don't get me wrong, there are some beautiful/funny/interesting pictures on there that astound me whenever I visit the 'popular' page.
However it's also quite a snappy way to get a sneak peak into the personal lives of bloggers, and find out what other sort of loves are in their life apart from the mirror selfies of the outfits we adorn ourselves with.
So, like many others, I have decided to start an IOTW (Instagrams of the Week) as a regular post on here, so you guys and gals can see what I get up to.
Above is my inebriated pouting face, wearing my new Topshop Lace Crop and Pleather skirt with studs from Hearts & Bows.
Below is when I went to visit family in Peterborough at the weekend and the snowy mountains of the country as I travelled on the train. Its weird looking at this now as its so sunny!

I got this ear cuff from River Island for a mere £3.00 and was testing out to see what it looked like. I'm a bit unsure still but at least my tragus piercing is finally starting to heal.
The other is my very messy jewellery table including my new neon necklace and stud turquoise triangle earrings that I got in New Look's BOGOF offer, both came to £7.99!


I thought this was quite funny, clearly too drunk for even autocorrect to understand.


We went out to a Destiny's child night in one of the Manchester clubs which was so good when this photo was taken. I hate how you can clearly see my bright orange ear plugs because of the wretched tinnitus I have.
Easter is no where near round the corner which means all the eggs and toys and especially the MaltEaster bunnies are in the supermarkets, and naturally I'm genuinely considering buying a year's supply of these.


My arsty toilet photography of my friend at another night out. I don't have a drinking problem, I swear!
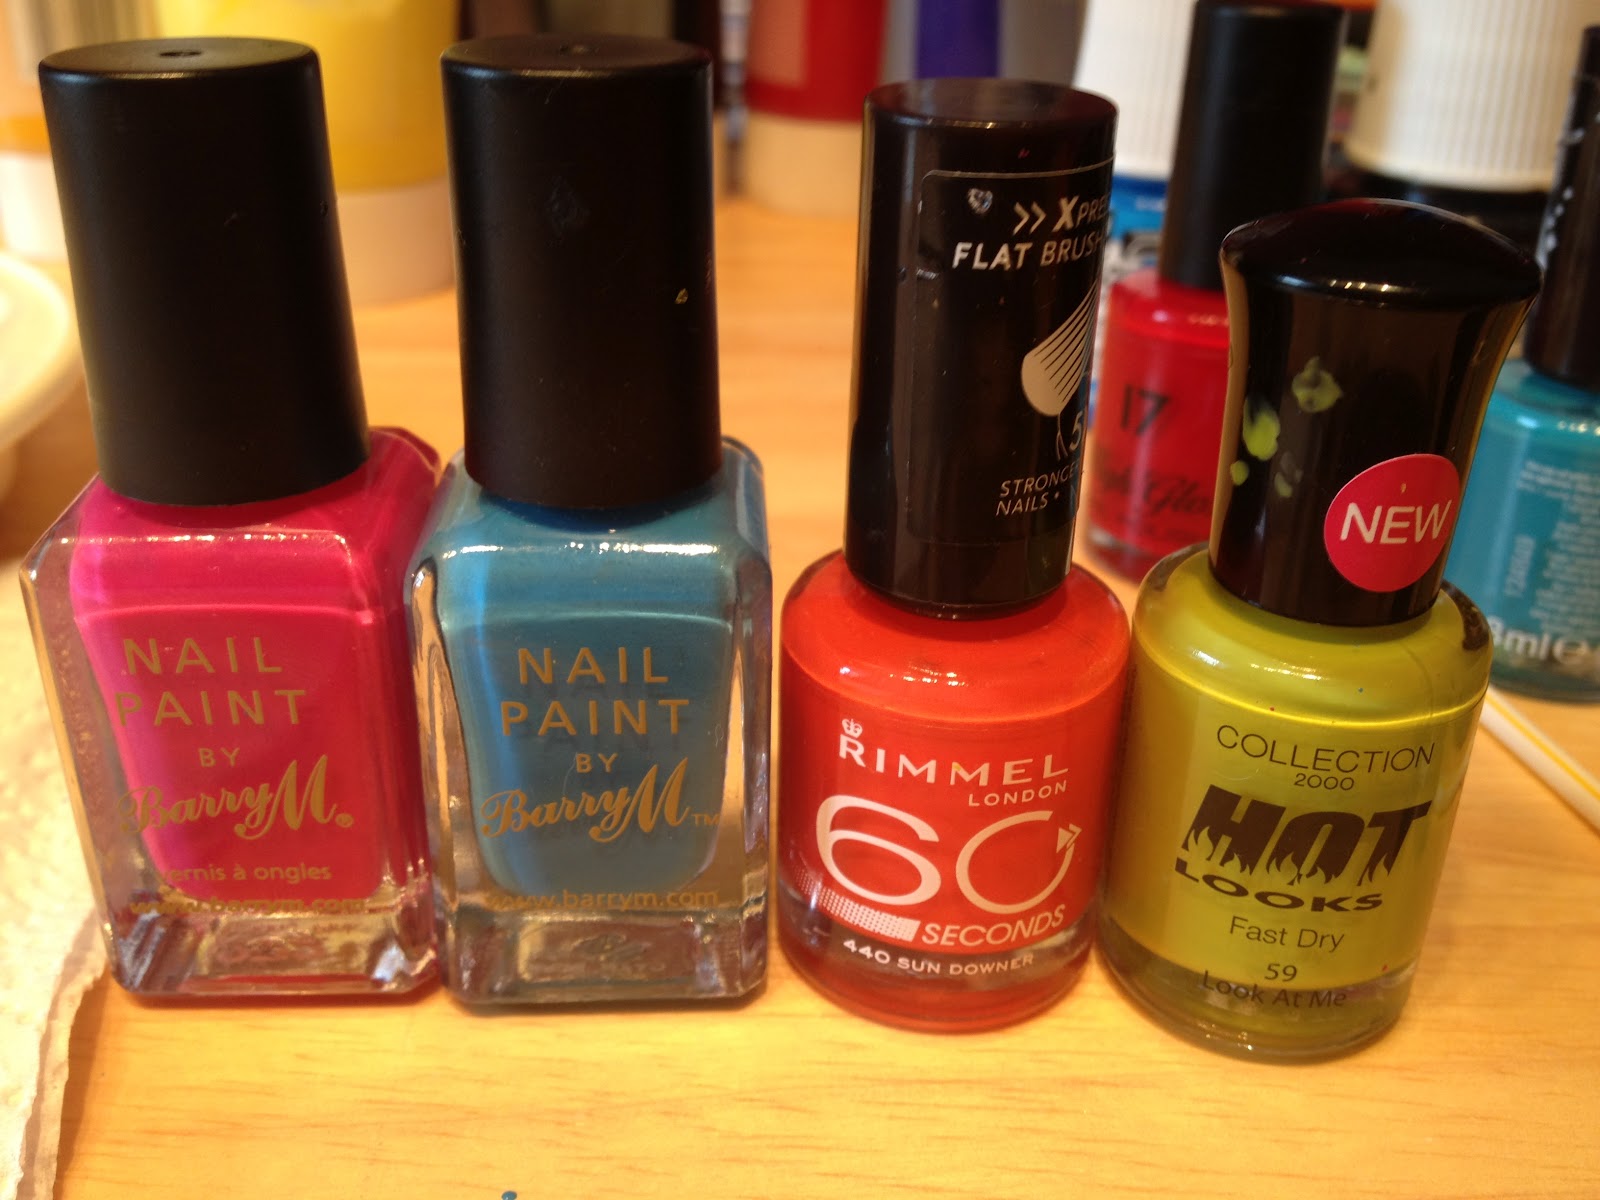
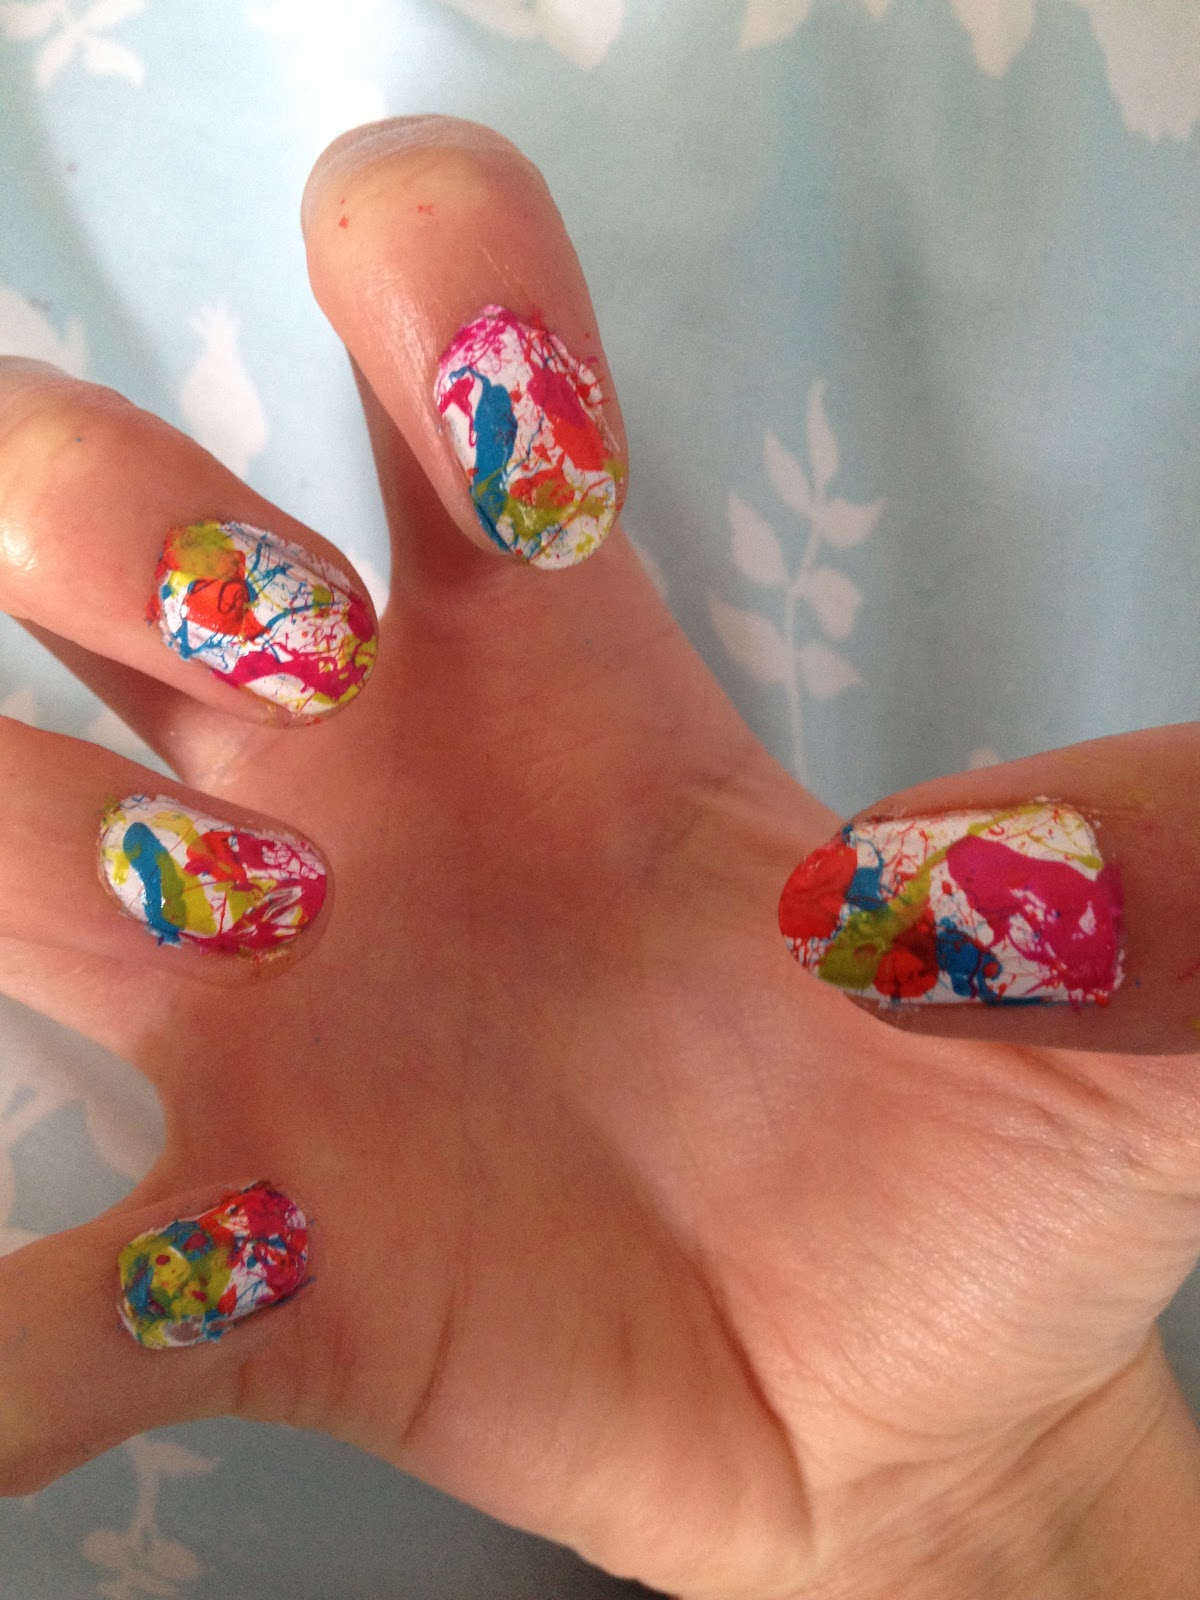
The nails were in honour of Valentine's day, although I'm a bitter singleton, the endless love posts were too much to bear and I gave into inspiration.

And finally I have this picture on my wall, and feeling sentimental one day and missing my dad loads, I decided to share it, and I love the added filter. Miss these days!
If you want to follow me on Instagram, my username is: emilyrodgers18.